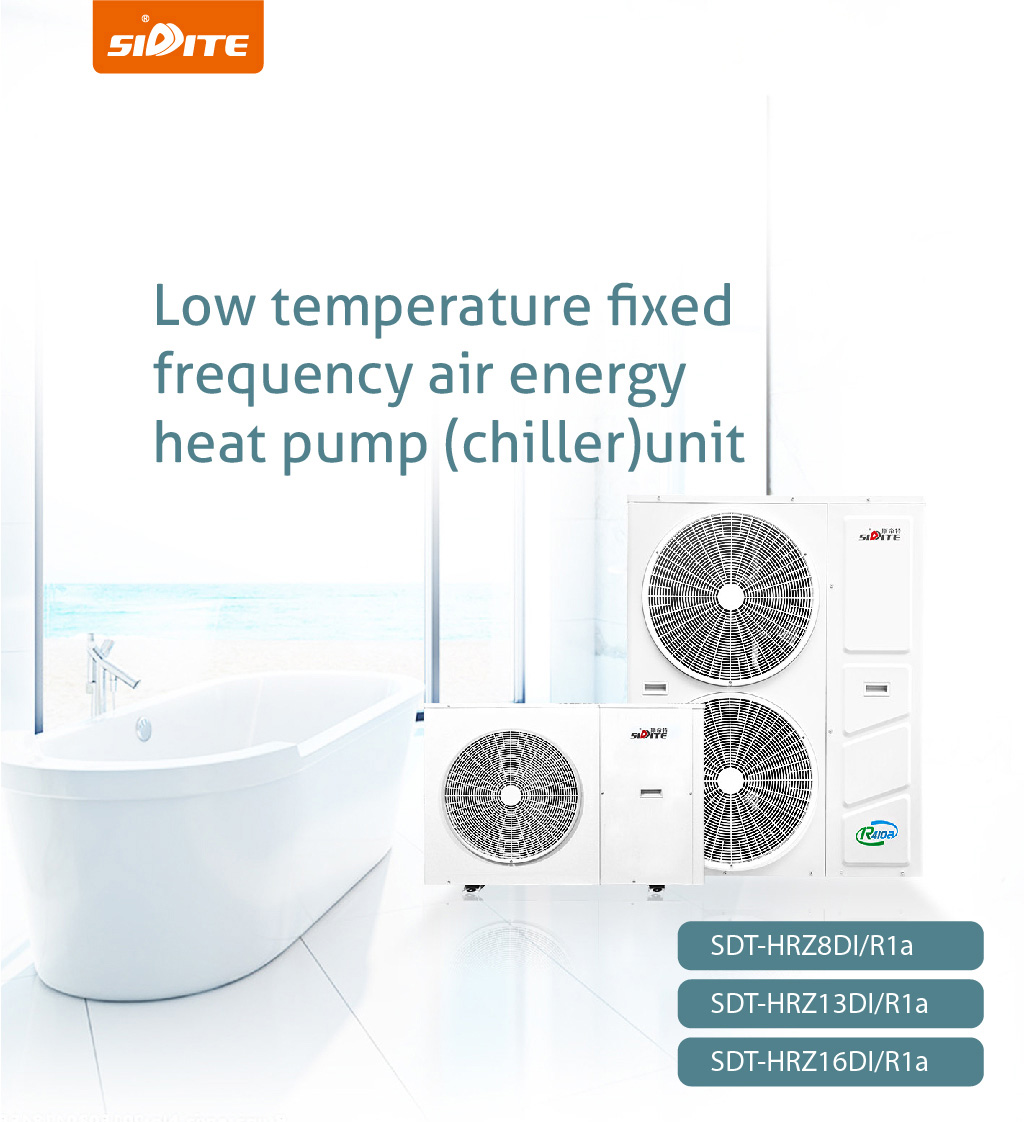
Due to ever-growing demands set by efficient energy and ecological compatibility worldwide, heat pumps have recently gained more attention amongst home users as an energy-friendly device. Proper installation is quite important to ensure the efficient operation of a heat pump system. This article will provide you with a detailed introduction to the installation of domestic heat pumps, as well as key points to note, to help you complete the installation of heat pumps and ensure the long-term stable operation of the equipment.
1. Preparation before installation
Before installing the heat pump, first of all, you need to carry out some necessary pre-preparation work:
Choose the installation location
The indoor unit should be installed in a well-ventilated place, avoiding direct sunlight and obstructed airflow. Outdoor units will need installation in an open space to ensure air circulation and to avoid possible noise disturbance to neighbors. Outdoor units should be installed at a certain distance from the ground to prevent water or ice accumulation, which can affect its functioning.
Check the power supply and electrical system.
Assure that house electrical circuitry supplies proper voltage to the heat pump unit. Access to the heat pump with power needs to be installed by a licensed electrician to follow the requirements of safety standards.
Measure the space dimensions.
Ensure that the indoor and outdoor installation space is sufficient to not only accommodate the equipment but also provide the required ventilation space for the proper operation of the equipment.
2. Installation of outdoor unit
The outdoor unit usually needs to be installed on the outside of the building to ensure good ventilation. The following are the installation steps:
Mounting bracket or platform
Then it should be installed on flat and rigid ground. Fasten the outdoor unit using brackets to the floor or wall to prevent vibration or noise. Make sure that the bracket is stable; it should not be subject to wind or any external force that will affect stability.
Connecting Pipes and Cables
Use professional tools to connect the refrigerant pipes, power supply cables, and control signal cables. Ensure the pipe is firmly connected and leakage-free and the cables and piping are not over-bended.
Installation of drainage pipe
If the appliance has a drainage function, for instance, condensate drain, ensure that the drainage pipe is smooth without blockage.
3. Installation of indoor unit
The indoor unit location is usually installed on the living room or bedroom wall, which provides a means of distributing hot air. Installation steps include:
Install the bracket and then fix the indoor unit.
Drilling holes in the wall and securing the bracket with the installation of an indoor unit that is fixed onto the bracket. Carefully check if the indoor unit position is fixed safely, and make sure pipework between an indoor and outdoor unit smoothly connects.
Laying of pipes and electric wiring
Now, connect the refrigerant piping between the outdoor unit and the indoor unit and the electrical wiring in compliance with the safety code. Intricate electrical connections are best done by an electrician.
4. Refrigerant Charging and System Testing
Vacuum and Fluorine Charging
Once the installation process is complete, a vacuum pump has to be utilized to remove air and moisture in the system so that it is clean and free of impurities internally. Thereafter, according to requirements from the heat pump manual, an appropriate amount of refrigerant has to be charged into the system.
Test the system for leakage of fluorine.
Then the professional should charge the system with fluorine and then conduct a pressure test of the system with the help of a leak detection tool. Any defects that may be identified must be rectified immediately.
5. Electrical wiring and control settings
Provide power supply and check the control system
Provide appropriate wiring for power and set the thermostat along with the control panel. The indoor thermostat can control the proper operation of an indoor unit by providing the proper temperature setting.
Commissioning and system verification
Power on and start the heat pump and see whether heating and cooling operations occur correctly. All the components of the equipment operate as specified.
Conclusion
It will improve not only the efficiency of the heat pump but also prolong its service life. By choosing a proper installation place, correctly connecting the system, charging fluorine in time, and checking the operating status of the equipment, long-term stable operation of the heat pump system can be ensured. If you are unfamiliar with the installation process or find complicated problems during installation, it is recommended that you entrust professionals to carry out the installation and commissioning.
Want to know more about the installation and maintenance information for heat pumps, or do you have other energy-saving equipment needs? Please don't hesitate to contact us; we'll provide professional advice and solutions for you.